Forsythia Bracelet
One of my stone dealers had a series of matched pairs which were part of a new large collection of Nacozari turquoise he had cut and polished. The shapes were varied covering ovals to squares. He also had a few large single pieces. What was great about them was that since he had collected them from the same location the colors also matched well. I studied them for weeks wondering how I might use them. After much thought and time spent rummaging through photos I had saved of other artists works I came across a design I had seen about a year earlier. It was beautiful which is why I had saved the photo. It was made by an Italian artist and was one of a kind. It became the inspiration to make this bracelet. I made several changes to mine, mostly in the design of the hinges. I wanted them to be more robust and protrude less from the back side of the bracelet. The bracelet in the photo used random shaped stones. I wanted to use matched stones.
The concept of the bracelet was to have a large stone forming the centerpiece of the design. Matching pairs would flank the center stone. I chose the first ones out from the center to be the larger of the sides followed by two smaller stones. This would create a smooth visual line arcing down from the large center stone to the end of the bracelet. The two outside stones would be wide to anchor the ends of the bracelet.
This photo shows the order with the square stones inside. They are shorter than the rest and their outside ends are also rounded. This design doesn't work visually to me.
In this photo I have laid out the stones in the order in which they would fit the bracelet best. (The center stone is actually upside down.) I've also made a series of large jump rings to use as the chain and laid in a hook type of clasp. I wanted the bracelet to be adjustable in fit so a simple clasp which could connect to any link in the opposite chain was desirable.
I've cut the backing for each stone from heavy silver. To do this I traced each stone onto a large sheet of silver and then cut each one out from the sheet.
In this photo I've cut the bezel metal for each stone. The bezel is made from fine silver, needed for the softness so the metal can be closed around the stones to hold them in place. Sterling silver, being harder than fine silver is used for the balance of the bracelet.
The bezels are only rough cut. The ends of each will need to be filed perfectly square to the strip before they can be soldered into a continuous loop of metal. Then will need to be fit tight to each stone. Any looseness can not be compensated for when the stone is pressed in at the final closing. The bezel must be tight before the top edge can be folded in to secure the stone. I make my bezels slightly undersized and then stretch them just enough to fit the stone. I accomplish this by rolling the bezel between a steel mandrel and a polished steel block. All it takes is a light rolling pressure to stretch the fine silver.
Here the bezels are complete and soldered to the backs. The edges of the backs have been filed and sanded flush with the bezels. Prior to soldering the bezels on to the backs the stones are pressed in and the final form is made. The bezels must match the shape of the stone or they will never fit after they are soldered.
The back side of the mounts. At this stage I remove any scratches in the silver from handling or filing using successively finer grades of emery paper. I then polish the mounts ending with rouge. It is much easier to polish the mounts before adding the hinges. I have also stamped the center mount "Sterling" and added my maker's mark "cTp".
Making hinges.
The design of the bracelet was to be flexible, wrapping around the wrist to make a snug fit. I didn't want the bracelet to be bulky or loose. This meant that each mount would have to pivot from its neighbor. The only way to accomplish that was to hinge each mount to the next. I thought about using jump rings ninety degrees opposed to each other. This would certainly work and be easy to construct but this method would also allow significant lateral mobility to the mounts, something I didn't want. It would be sloppy. Instead I settled on using silver tubing with wire pins as the hinge elements. This would make a hinge with plenty of motion and no lateral movement.
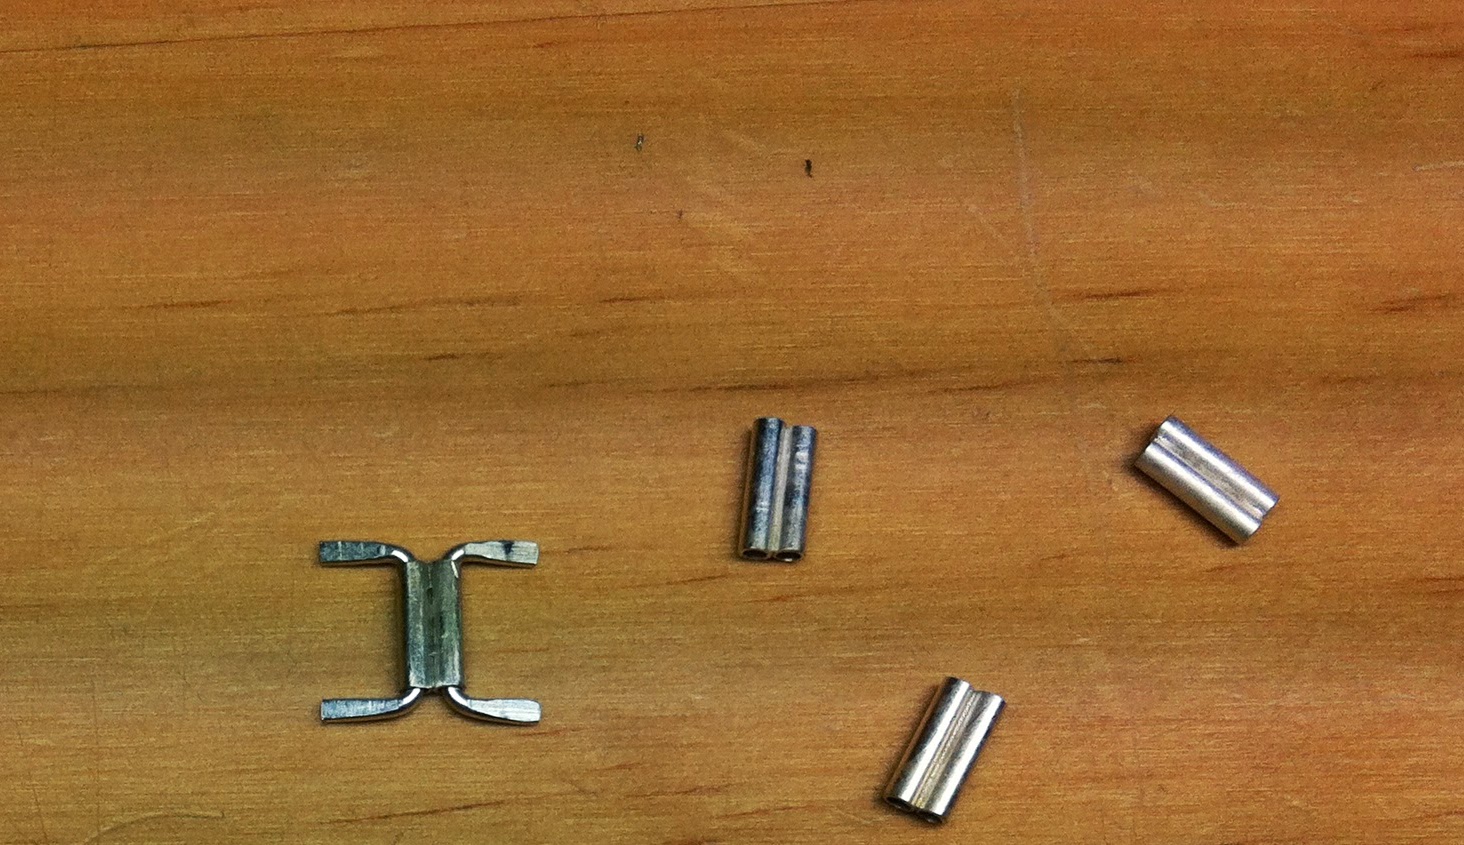
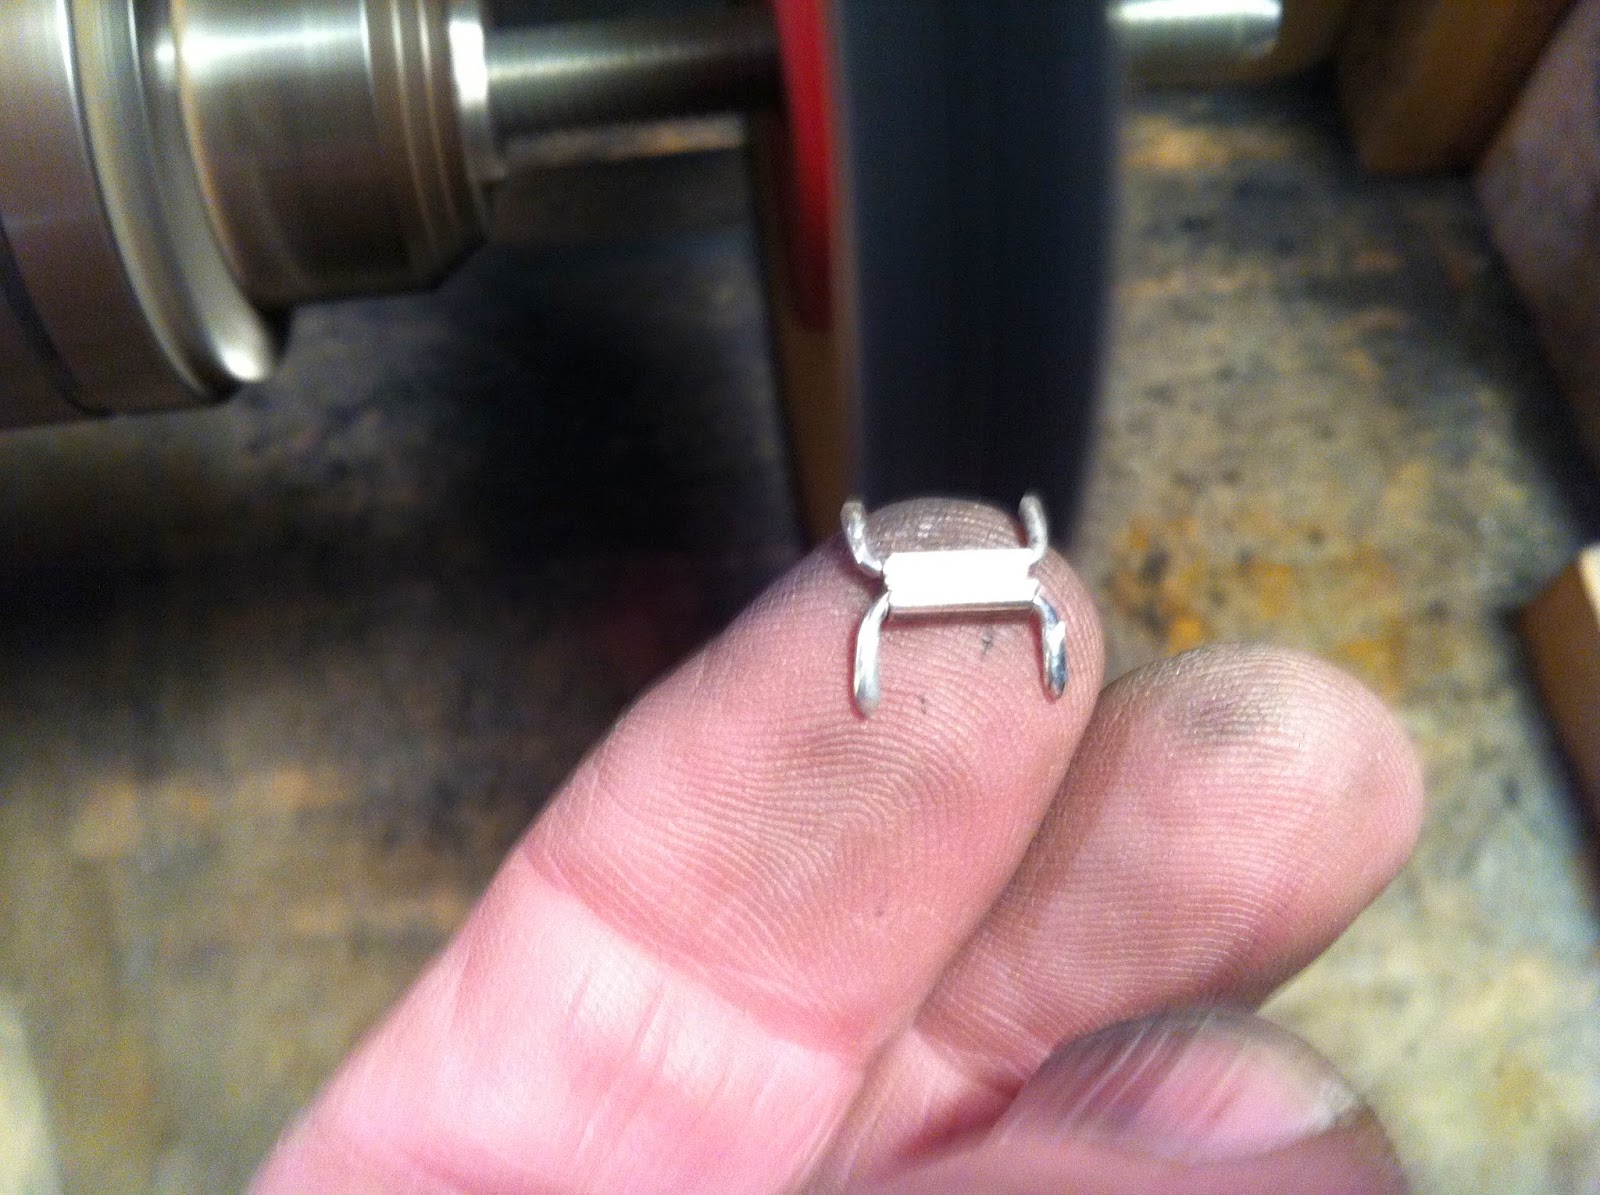
The hinges themselves are constructed out of sterling tubing, 0.071 inches outside diameter. The pins are AWG 18 wire. This fit allows easy movement. The tubes are cut 3/8 inch long and soldered side to side. The wire is then slid in and the ends are bent 90 degrees. The tubing must be supported when the wire is bent or the ends will flare. After bending the ends of the pins are hammered flat between a bench block and a square mandrel. Flat pins will add greater strength to the solder joint on the mount and will also protrude less. The ends of the hinges will be adjacent to the wearer's skin and thus must not protrude. Prior to soldering the ends must also be filed round and be smooth.
Everything needs to be polished, even the hinges. The only way to really polish the hinges is to hold them in your fingers which means your fingers get polished too.
Still making hinges. The concept is starting to take shape.
I wasn't sure In what order I should solder the hinges, center stone out or end stone in. Each mount would have two hinges to solder to it. It is desirable to make both solder connections at the same time; the assembly would only have to be heated once. Soldering the hinges separately runs the risk of loosening the first hinge while the second is being soldered.
The mount itself would sit on a charcoal block. I would need to fixture the hinge body to hold it level and secure. Since the hinge pins could rotate, I would also need to press them down on to the mount in order to get a sturdy solder joint. There was no way to perform this with both hinges at once. I simply didn't have enough hands. This meant that I wouldn't be able to solder two hinges at the same time.
I ended up starting at the ends and working in. Each mount got the outside hinge soldered first creating a mount / hinge pair. I would then solder a hinge / mount pair to the previous pair and so forth. As I added a second hinge to a mount, the previous mount would act as a heat sink and fixture, securing the first hinge in the event the solder holding it flowed. I completed it by soldering the two hinges to the center mount and then soldering it to the outsides. It worked. Only one hinge was misaligned. I was able to realign it with no trouble.
A simple fixture to secure a hinge during the solder operation. The tweezers hold the hinge and act as a heat sink preventing the tubes from coming unsoldered. I worked the torch with my right hand while pressing the ends of the hinge pins down on to the mount using two solder picks held with my left hand.
The bracelet soldered together.
The finished chain. Each jump ring is soldered closed. I started with the large, making them out of AWG 16 wire. Each is soldered closed then the joint is sanded and buffed. The smaller rings are made from AWG 18 wire, also soldered closed, sanded and buffed. Two large rings are inserted into a small ring prior to it being closed. It is easy to make a chain using this method.
Each stone was numbered using a marker on the back. The orientation was also marked. Each mount had the same matching number and orientation scribed into it on the inside. I had carefully laid out the stones at the start picking a position and orientation, left/right and top/bottom to make the best looking bracelet. Numbering them was essential less one component be soldered in the wrong orientation. The bezels also have a top and bottom edge. This must be kept record of also. Soldering a bezel on upside down means the stone would only fit outside in. I always keep the stones pressed into the bezels and remove them only at my solder bench. This both maintains the unique shape of the stone in the bezel and also shows which edge of the bezel to solder to the backing plate.
I settled on a "T" clasp, made from large AWG wire with a small half loop soldered to it. The ends are dressed with fine wire wrapped and soldered in place.
The completed bracelet.
This shows how the bracelet wraps. Each mount can actually fold back to back on the adjacent mount.
The "T" clasp can pass through any of the larger chain links. It is intended that the wearer select which chain link to pass the clasp through in order to achieve the most comfortable fit. The balance of the chain can hang loose.
The bracelet wrapped inward. In each bending direction the mounts themselves will meet and thus limit the travel. The hinges do not limit the travel. They are never stressed.
The completed bracelet was a gift for a dear friend.


No comments:
Post a Comment